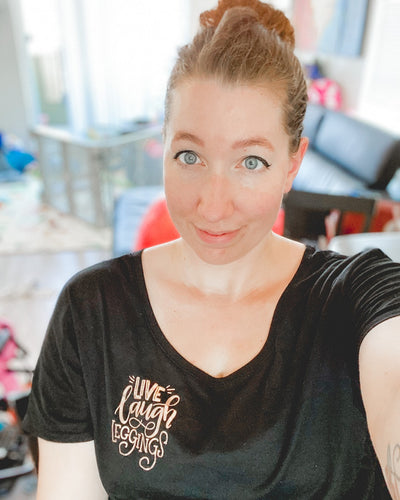
This is a sponsored post written by me on behalf of Cricut. All opinions are 100% mine.
Before I got my Cricut Joy, I was like, “Huh? What’s a Cricut?”
(Oh and it’s pronounced “Crick-utt.” You’re welcome.)
But soon after receiving it, I became hooked. So hooked in fact that I went to not knowing what vinyl was and having never successfully made a single craft… to launching a full-fledged custom vinyl and sublimation print shop, creating shirts and mugs AND living my dream of donating 20% to charity! In 4 months!
I meeeeeeean for a girl who was never crafty, that’s pretty good, I think.

But this post isn’t about my print shop. It’s about this lil’ machine that started it all. My Cricut Joy… and it’s bigger, bolder cousin the Cricut Explore Air 2.
Now in full disclosure here, I did receive my Cricut Joy originally for free in exchange for an Instagram post, but all my thoughts are genuine. I really love working with Cricut on content and well, I loved the Joy so much that I bought the Explore Air 2 for my business (with my own money).
The Joy and Explore Air 2 work the exact same way. The only difference is size and some capabilities. So the Joy is a mini dude, and can cut up to 4.5″ wide. It’s perfect for making tumblers and wine glasses and even baby and kids clothes, and other smaller projects. But when you want to make adult size t-shirts or other larger items, I’d recommend the Air. That’s why I got it for my business, as I need to cut up to 12″ wide designs. The Air 2 also cuts more materials, like some wood and leather. Personally I don’t have a need for that, just the bigger size.
Here’s what I learned as a total Cricut newb:
1. How Fun Vinyl Is (and What the Heck It Is)
Before Cricut if I heard the word vinyl, I’d think of records (yeah, I’m old) or maybe even a tarp blowing in the breeze. But… custom tumblers? Shirts? Labels? Die cut stickers? Not on my radar.
Vinyl is THE MIRACLE MATERIAL. Okay, maybe a bit dramatic. But it’s pretty cool.
There are 2 main types of vinyl: adhesive (sticks on stuff) and heat transfer / Iron-On (applies with an iron or heat press to stick it to stuff, usually fabric, with heat!). That’s all you need to know.
Usually you use adhesive vinyl to put on hard surfaces, like a mug or tumbler. Or to make stickers or labels out of. And heat transfer is for fabrics, like shirts, tote bags, shoes (and much more).
2. That Die Cutting & Vinyl Is Big Business
Ummmmm do you know how many of your favourite Etsy listings out there are made with a Cricut?! A LOT of them, trust me!
I had no idea people were using Cricuts to make those trendy vinyl wine glasses, or custom t-shirt designs, and I certainly had no idea I could make stuff like that at home.
Personalized and custom giftware is BIG business nowdays, with a market size predicted to reach $3.47 billion by 2022. OVER 3 BILLION DOLLARS A YEAR! Surely a teeny tiny slice of that pie could be yours, right? That’s what got me thinking… and the answer is yes.
3. It’s Way Easier Than It Seems! Breathe!
The first project I ever made was some essential oil roller bottle labels. I made them with my Cricut Joy in just a few minutes from my phone. I was nervous to try it out after unboxing it but it couldn’t have been easier.
I would suggest watching some YouTube tutorials before getting started to familiarize yourself with the software and all the terminology, like “cut files,” “SVG,” and more. Then once you make your first project, it’ll all click. I promise – I am a TOTAL clumsy un-crafter… and I did just fine. You can too.
Some of my favourite YouTube tutorials for getting started are:
- “Why is my heat transfer vinyl coming off my shirt?” by Cuttin Corners Vinyl (really helped me feel confident making shirts! All her videos are great!)
- “Cutting and Applying Cricut Vinyl” by Makers Gonna Learn
- “Print and Cut with Cricut Explore” by Patty Anne
- “How to Make Stickers” by Sarah Types
4. Design Space is Worth its Weight in Gold
Design Space is the free software that comes with your Cricut machine. Learning a new program is never my idea of a good time but this is really simple. Cricut has a super short video series you can watch after unboxing your machine that explains all the basics, but it’s also pretty intuitive to do all the basic tasks like resizing, importing images, adding text and printing (cutting) it out.
There are a TON of advanced features too that I am still getting the hang of 4 months later, so there’s a lot of room for growth too. (Again, YouTube is your friend!)
With the app, you can design a project directly in it without needing anything else, especially because it comes with a ton of awesome, commercial-use fonts and images built in (+more with a Cricut Access membership!). BUT you can also import any image you’ve already designed somewhere else, like in Photoshop or Illustrator.
The best part for newbies though? Design Space has a mobile app for iOS and Android devices that you can use right away and get making your first project in under 5 minutes. That sounds salesy but it’s true! There are lots of already-made projects in the app you can print out and it’s a good way to get familiar with the app before designing your own.
The Project: A 4-Colour Custom T-Shirt!
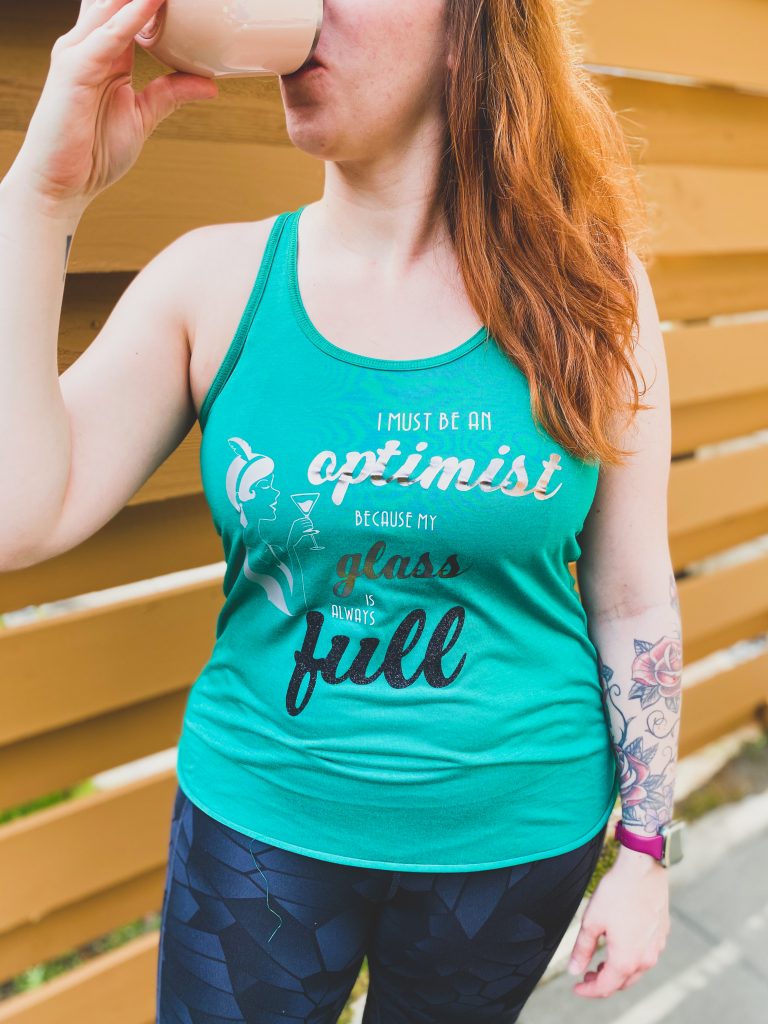
Okay! I’m gonna show you how I made this shirt using 4 different kinds of Cricut Iron-On. Mixing and matching colours and textures is fun. I especially love the silver foil part, it really catches the light.
Materials Needed:
- A Cricut machine (I recommend the Explore Air 2 or Maker for the larger cutting size)
- Cricut TrueControl Knife (or scissors)
- Cricut Iron-On in the colours of your choice (I used Glitter Iron-On in black, Foil Iron-On in pewter, and Everyday Iron-On in white and silver)
- A cutting mat – I use the 12×12 LightGrip for vinyl (blue one – it comes with the Explore Air 2)
- Weeding tool
- An iron or heat press (I have a heat press)
- A blank t-shirt or tank top! A cotton or cotton/poly blend works best. For proper adhesion, make sure it’s one that hasn’t been washed before.
How to Make This
- First, click here to open up the project file in Design Space. This is the same file I made for my shirt. 🙂
- Next, resize the design to whatever width you’d like for your shirt. I chose 10″ as that’s pretty standard for an adult women’s tank top/t-shirt but you can resize as needed.
- Make sure your Bluetooth is on your computer or phone and click “Make It.”

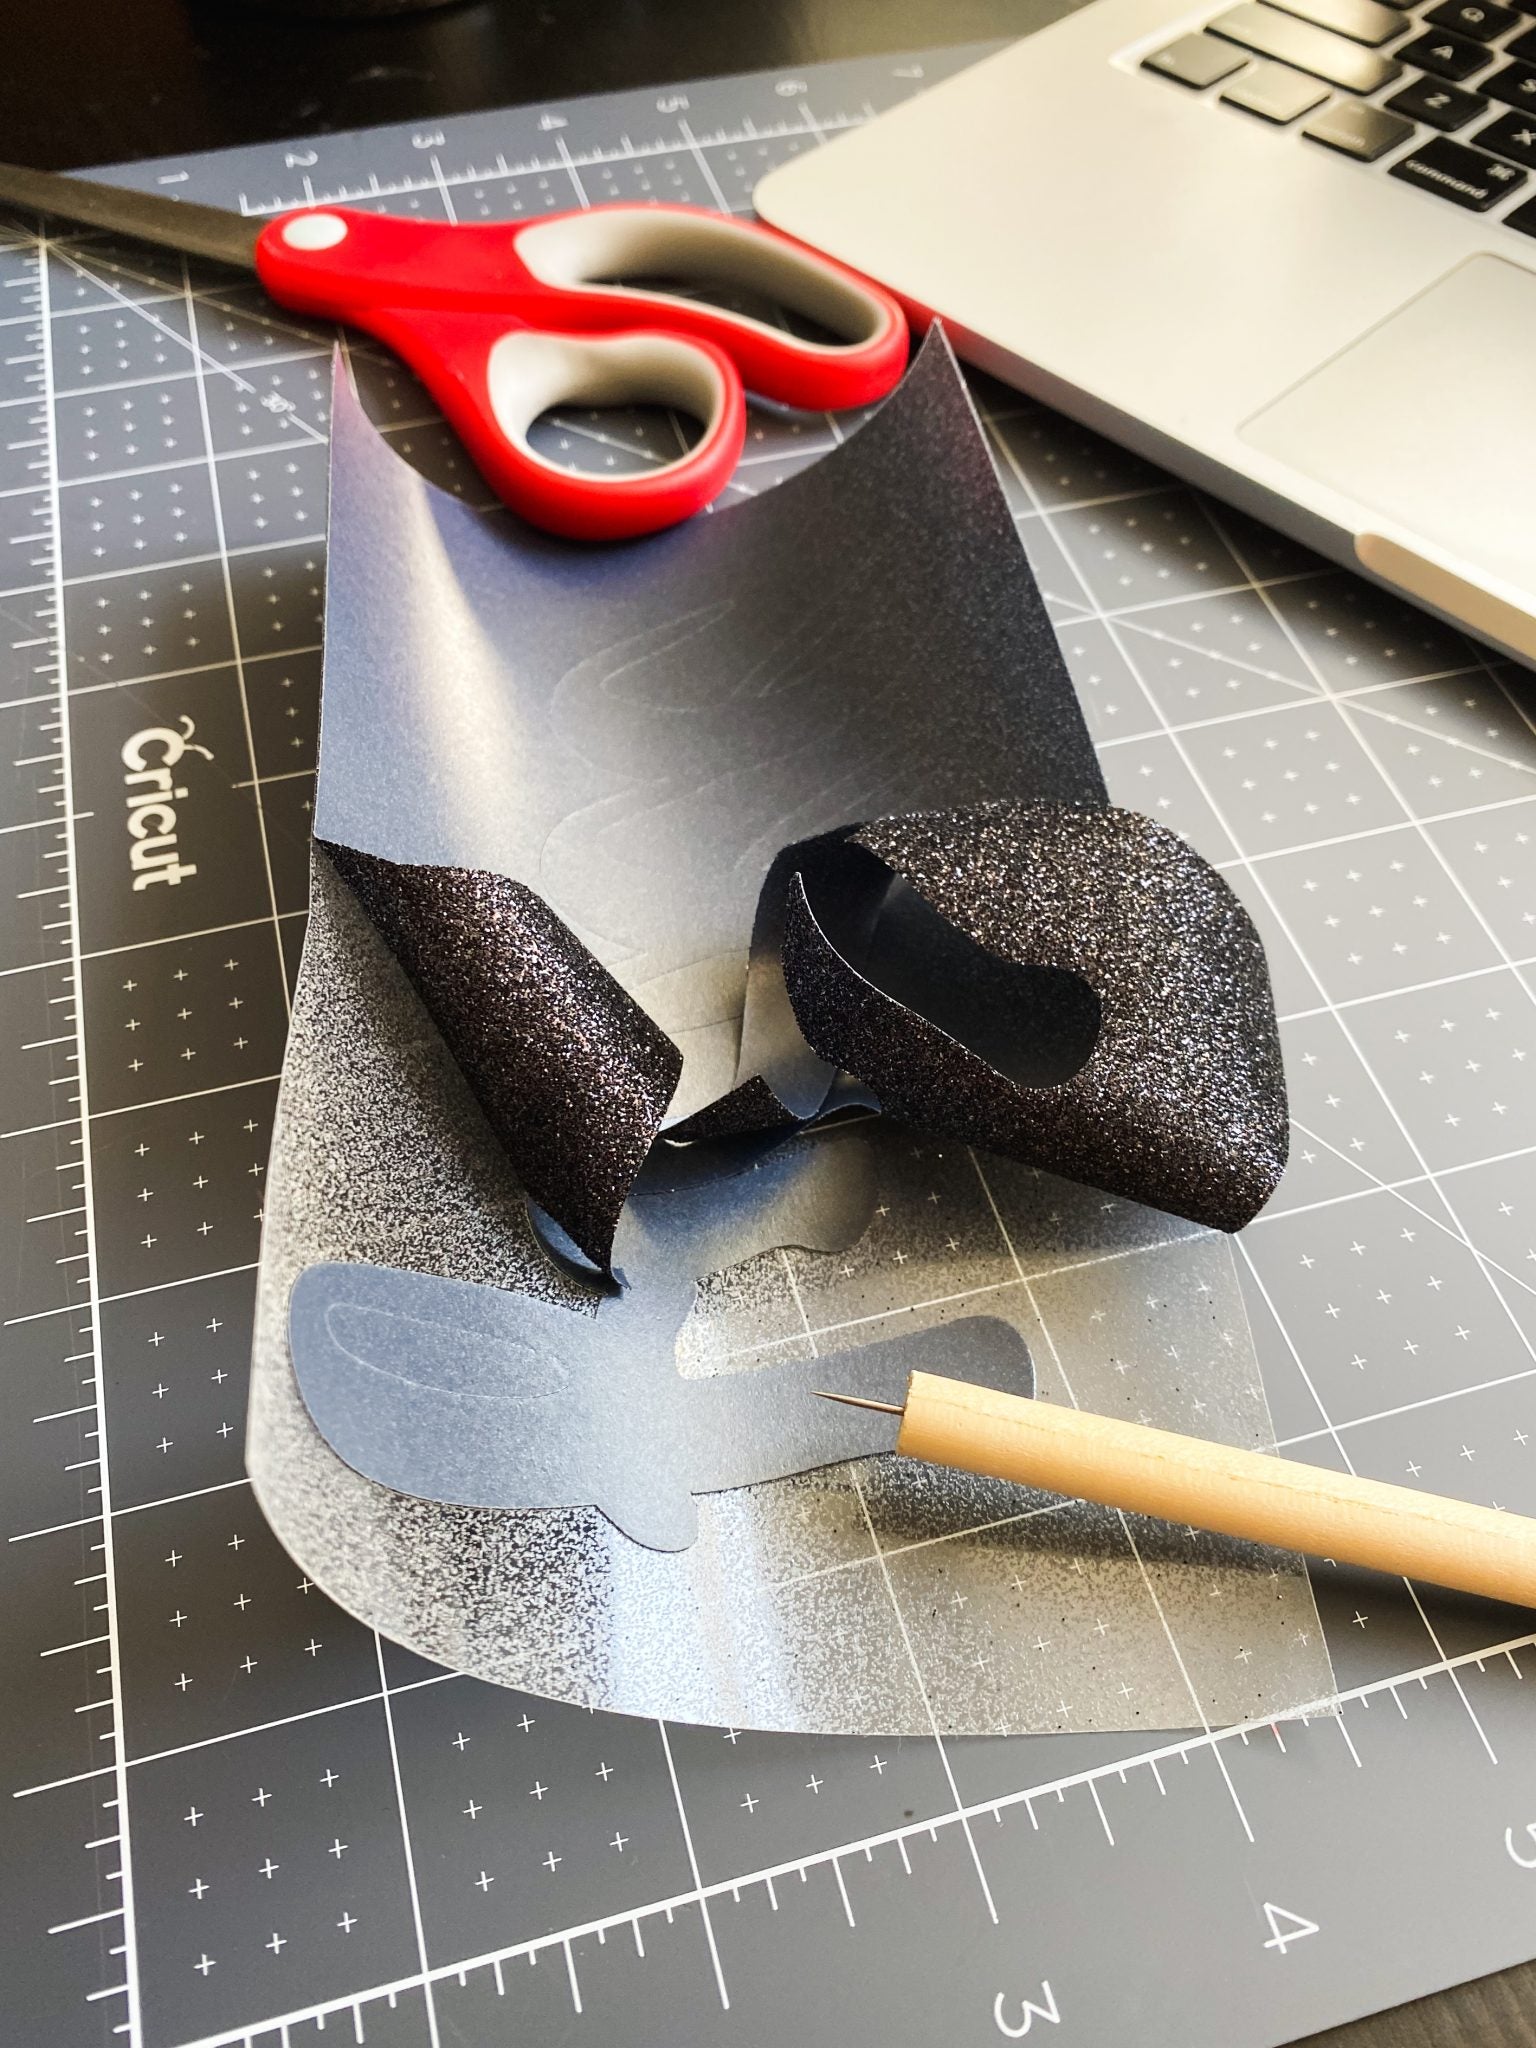
- Follow the Cricut’s prompts to cut out all the pieces of vinyl. IMPORTANT: Make sure “Mirror?” is TURNED ON! Iron-On Vinyl must always be mirrored.

- The file is already separated into 4 pieces, so you can choose which colour you want each piece to be by just loading that colour onto the mat it will be cutting next.
- It will ask you to load your mat and materials. Place the Iron-On Vinyl shiny side down on the mat and rub it all over to make sure it’s stuck down evenly with no big lumps or bumps (a few air bubbles are ok).

- Load it into the machine and follow the prompts to begin the cut. You’ll repeat this process 4 times for all 4 colours (or however many you’re using).
- After that’s done, you need to weed your vinyl. SAY WHAT? I know – it just means, pull away all the excess vinyl to leave only the part you want transferred to the shirt. Start by peeling a corner and go from there. 🙂 I like to “stab” the corner of mine with my weeding pick to get it up a bit so I can peel it the rest of the way with my fingers.

Okay now we need to prep our shirt and get the design aligned! I am using a heat press so the following directions are for that, but if you’re using an iron, you can find the appropriate settings/time/temperature on the Cricut Heat Guide.

I did 330 degrees for 30 seconds, then let the shirt cool down, peeled off the carrier sheet (clear film), covered with my Teflon sheet and re-pressed for about 20 seconds.
You can tell the Iron-On is adhered to the shirt when you can see the texture of the material through it (not on Glitter Iron-On though!).
That’s it! The shirt is ready to go.


I hope you liked my little tutorial. I started learning about making shirts back in April before launching my shop in July and it’s honestly so fun to create something and be able to bring it to life, right at home.
If you’re on the fence about getting a Cricut… well, I say treat yoself. 😉